Sajiron
Mastering Rust Project Structure: Packages, Crates, and Modules
1. Introduction
As Rust projects scale, organizing Rust code structure efficiently is crucial for maintainability, reusability, and performance. Without a well-structured codebase, navigating, maintaining, and expanding your project can become challenging over time.
Rust provides a modular architecture using packages, crates, and modules, allowing developers to write scalable Rust applications with better code organization. Whether you're working on a small utility project or a large-scale system, understanding how to structure your code effectively can significantly impact productivity and long-term project success.
This guide will take you through the fundamental concepts of Rust’s module system, how to break down large projects into manageable components, and best practices to follow when structuring your Rust applications.
📌 In this guide, we will explore:
✅ What are packages, crates, and modules in Rust?
✅ How to structure a Rust project for better maintainability
✅ Using Cargo workspaces for multi-crate projects
✅ Managing scope and encapsulation effectively
✅ Best practices for structuring large Rust applications
By the end of this guide, you’ll be able to organize Rust projects like a pro! 🚀
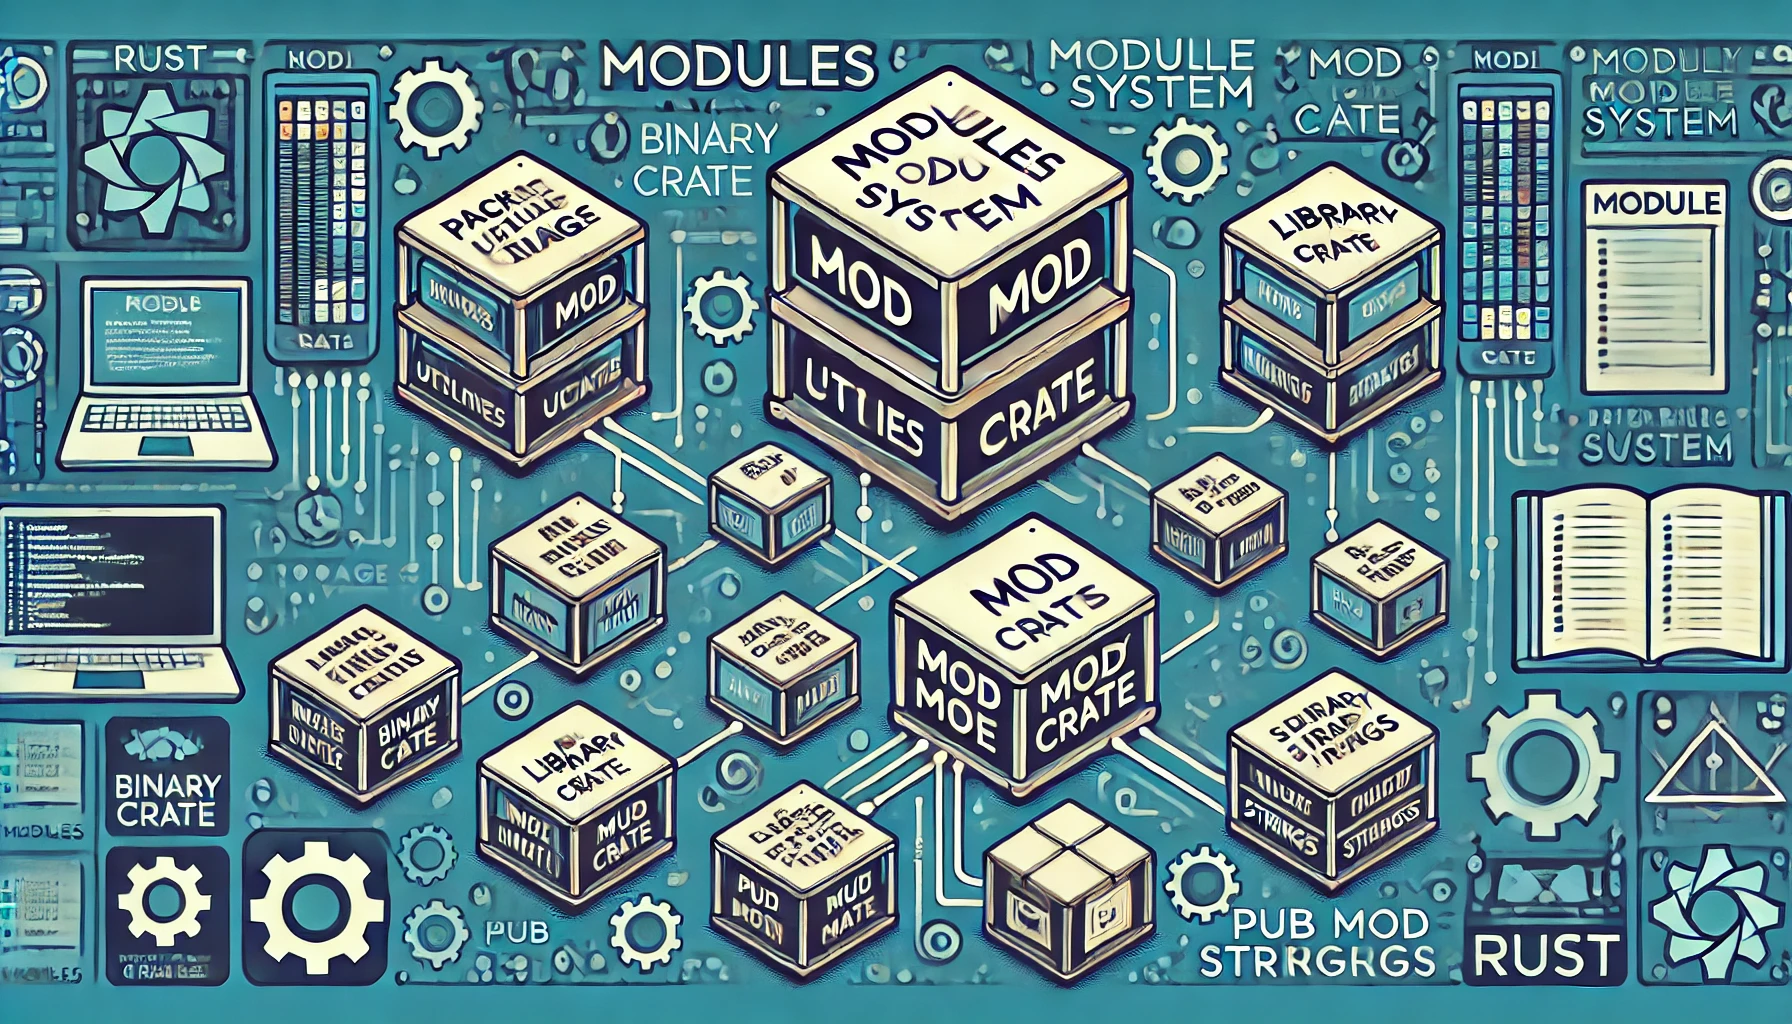
2. Understanding Rust’s Code Organization System
Rust's code organization system is built on a hierarchical structure that ensures modularity, maintainability, and ease of reuse. At a high level, it consists of packages, crates, and modules, each serving a distinct purpose.
2.1 The Three Key Levels of Rust's Code Organization
Packages – The highest level of organization that manages one or more crates. Defined by a Cargo.toml file, a package can contain both binary and library crates.
Crates – The fundamental unit of compilation in Rust, representing either an executable binary (main.rs) or a reusable library (lib.rs).
Modules – A way to structure code within a crate, improving organization, readability, and reusability.
2.2 Additional Concepts in Rust’s Code Organization
Paths – Provide a way to reference functions, structs, modules, and other elements within a project. Rust uses an explicit module tree to manage access.
Scopes – Define which parts of the code are visible and accessible at different points in a project. By default, items in a module are private, and must be explicitly marked as pub to be accessible elsewhere.
Encapsulation – Restricts the visibility of internal implementations while exposing only the necessary interfaces for external usage.
2.3 Why Does Rust Use This Structure?
The modular system in Rust offers several advantages:
✅ Improved Maintainability – Separating concerns into smaller modules makes it easier to update, debug, and test the code.
✅ Better Code Reusability – Libraries (lib.rs) allow you to package and reuse functionalities across multiple applications.
✅ Encapsulation for Safety – By managing visibility with pub and private, Rust enforces stricter access control, reducing unintended modifications. ✅ Efficient Compilation – Rust compiles code at the crate level, optimizing dependencies and minimizing redundant compilation steps.
With these principles in mind, let’s explore how to structure a Rust project efficiently. 🔍
3. Rust Packages: The Project Container
A package in Rust is a collection of one or more crates that provides a cohesive set of functionality. Every package is defined by a Cargo.toml file, which specifies dependencies and metadata for the package.
3.1 Key Features of Rust Packages
✅ Contains one or more crates (binary and/or library crates).
✅ Managed by Cargo, Rust’s package manager.
✅ Defines dependencies and metadata in Cargo.toml.
✅ Can include multiple binary crates but only one library crate.
3.2 Creating a Rust Package
To create a new package, use Cargo:
cargo new my_projectThis creates the following structure:
my_project/
├── Cargo.toml  # Package metadata and dependencies
└── src/
    └── main.rs  # Entry point for a binary crate
For a library package:
cargo new --lib my_libraryThis creates the following structure:
my_project/
├── Cargo.toml  # Package metadata and dependencies
└── src/
    └── lib.rs  # Entry point for a library crate
3.3 How Rust Packages Work
The crate root is the main source file (src/main.rs for binaries or src/lib.rs for libraries).
A package must contain at least one crate, but it can contain multiple.
If both src/main.rs and src/lib.rs exist, the package contains both a binary crate and a library crate.
Additional binary crates can be added by placing Rust files in the src/bin/ directory. Each file in src/bin/ will be compiled into a separate binary.
📌 Example of package with multiple crates
my_project/
├── Cargo.toml  # Defines the package
├── src/
│   ├── main.rs  # Binary crate
│   ├── lib.rs   # Library crate
├── src/bin/
│   ├── tool1.rs  # Additional binary crate
│   ├── tool2.rs  # Another binary crate
This package contains:
A binary crate (src/main.rs).
A library crate (src/lib.rs).
Two additional binary crates (src/bin/tool1.rs and src/bin/tool2.rs).
This structure is useful for projects where you want to create both a command-line application and a reusable library in the same package.
4. Crates in Rust: The Compilation Units
A crate is the smallest unit of compilation in Rust. It can be:
✅ Binary crate: Contains main.rs and generates an executable program.
✅ Library crate: Contains lib.rs and provides reusable functionality.
4.1 Crate Root and Structure
The crate root is the main entry point file that the Rust compiler uses to start compilation.
For a binary crate, this is src/main.rs.
For a library crate, this is src/lib.rs.
Each Rust crate forms its own separate compilation unit, which means Rust compiles crates independently to improve efficiency.
4.2 Are main.rs and lib.rs Reserved Keywords?
No, main.rs and lib.rs are not reserved keywords in Rust. Instead, they are conventional filenames that Cargo uses to identify the crate root.
main.rs: Cargo treats src/main.rs as the entry point for a binary crate.
lib.rs: Cargo treats src/lib.rs as the entry point for a library crate.
If you want to change the crate root, you can explicitly specify it in Cargo.toml:
[lib]
name = "custom_lib"
path = "src/my_lib.rs"

[[bin]]
name = "custom_bin"
path = "src/my_main.rs"
This configuration tells Cargo to use my_lib.rs as the library crate and my_main.rs as the binary crate.
4.3 Managing Multiple Crates in a Package
A package can be configured to include multiple crates by defining a Cargo workspace:
[workspace]
members = ["my_lib", "my_bin"]
Then, create the following directory structure:
my_project/
├── Cargo.toml  # Workspace definition
├── my_lib/
│   ├── Cargo.toml  # Library crate
│   └── src/
│       └── lib.rs
└── my_bin/
    ├── Cargo.toml  # Binary crate
    └── src/
        └── main.rs
5. Rust Modules: Organizing Code Effectively
As your Rust project grows, managing code effectively using modules is essential for maintainability and reusability. Modules allow you to break down your code into smaller, manageable components, making it easier to read, navigate, and debug.
5.1 What Are Rust Modules?
A module in Rust is a way to logically organize code within a crate. It allows you to:
✅ Group related functionality together
✅ Control the visibility of items (pub vs. private)
✅ Avoid naming conflicts using namespaces
✅ Improve code maintainability and reusability
Each Rust module can either be inline (inside a file) or separated into multiple files for better structure.
5.2 How to Define and Use Modules in Rust
Rust provides a simple way to declare and use modules using the mod keyword.
1️⃣ Creating a Simple Module (Inline)
You can define a module inside a Rust file (e.g., main.rs):
mod utilities {
    pub fn greet() {
        println!("Hello from Rust module!");
    }
}

fn main() {
    utilities::greet();
}
2️⃣ Organizing Modules in Separate Files
For larger projects, keeping all code inside main.rs or lib.rs is impractical. Instead, move modules into separate files.
📌 Project Structure Example:
my_project/
├── src/
│   ├── main.rs  // Root module
│   ├── utilities.rs  // Separate module file
│   ├── math.rs  // Another module
│   └── strings.rs  // Another module
📌 Main Module (main.rs):
mod utilities; // Declare the module (file must exist in src/)

fn main() {
    utilities::greet();
}
📌 Module File (utilities.rs):
pub fn greet() {
    println!("Hello from Rust modules!");
}
When you declare mod utilities; in main.rs, Rust automatically looks for: 1️⃣ A utilities.rs file in the src/ directory
2️⃣ A utilities/mod.rs file (for nested modules)
5.3 Nested Modules: Hierarchical Organization
Rust allows you to nest modules to create a structured hierarchy.
📌 Project Structure:
my_project/
├── src/
│   ├── main.rs
│   ├── utilities/
│   │   ├── mod.rs  // Entry point for utilities module
│   │   ├── math.rs  // Submodule
│   │   ├── strings.rs  // Submodule
📌 Main File (main.rs):
mod utilities;  // Import the utilities module

fn main() {
    utilities::math::add(3, 4);
    utilities::strings::say_hello();
}
📌 Module File (utilities/mod.rs):
pub mod math;
pub mod strings;
📌 Submodule (utilities/math.rs):
pub fn add(a: i32, b: i32) -> i32 {
    a + b
}
📌 Submodule (utilities/strings.rs):
pub fn say_hello() {
    println!("Hello from the strings module!");
}
Now, you can access the functions like:
utilities::math::add(2, 5);
utilities::strings::say_hello();
6. Managing Visibility: Public vs. Private Modules
By default, all items in a Rust module are private unless explicitly marked pub.
📌 Example
mod utilities {
    fn private_function() {
        println!("I am private!");
    }

    pub fn public_function() {
        println!("I am public!");
    }
}

fn main() {
    utilities::public_function();  // ✅ Allowed
    // utilities::private_function();  // ❌ Error: function is private
}
6.1 Visibility Modifiers
Modifier | Description |
| Accessible anywhere in the crate or from other crates if imported |
| Visible only within the current crate |
| Accessible from the parent module |
(default) | Private (only accessible within the module) |
7. Best Practices for Rust Modules
Use a Clear Hierarchical Structure – Organize related functionality into separate modules.
Minimize Public Exposure – Only expose what is necessary using pub.
Keep Modules Focused – Each module should handle a specific concern (e.g., math.rs for math operations).
Use mod.rs for Nested Modules – When using submodules inside a directory, create mod.rs as the entry point.
Use Cargo Workspaces for Large Projects – For big projects, consider breaking them into separate crates within a workspace.
8. Advanced: Module Imports & Aliases
8.1 Using use to Simplify Access
Instead of writing utilities::math::add(), you can simplify imports:
use utilities::math::add;

fn main() {
    let result = add(10, 20);
    println!("Sum: {}", result);
}
8.2 Module Aliases
If a module name is too long, use as to shorten it:
use utilities::math as calc;

fn main() {
    let result = calc::add(10, 5);
    println!("Sum: {}", result);
}
9. Conclusion
Rust’s module system provides a powerful way to structure code efficiently. By understanding how to create, use, and organize modules properly, you can write clean, reusable, and maintainable Rust applications.
💡 If you found this helpful, please remember to leave a like! 👍
Recommended

Working with Collections: Vectors, HashMaps, and Strings in Rust
Learn how to use Rust's core collections—Vec, HashMap, and String—with real-world examples, common methods, and usage patterns.

Working with Files and the Filesystem in Rust
Learn how to create, read, write, and manage files and directories in Rust with practical examples and error handling best practices.

# The Difference Between `null`, `undefined`, and `NaN` in JavaScript
Understand the key differences between null, undefined, and NaN in JavaScript with clear examples, use cases, and best practices for each.

Building Frontend Apps with Rust and Yew
Build fast and safe frontend apps using Rust and Yew. Learn setup, components, hooks, and WebAssembly—all in a React-like Rust framework.